Showing posts with label Kill Teams. Show all posts

Thursday, September 9, 2021

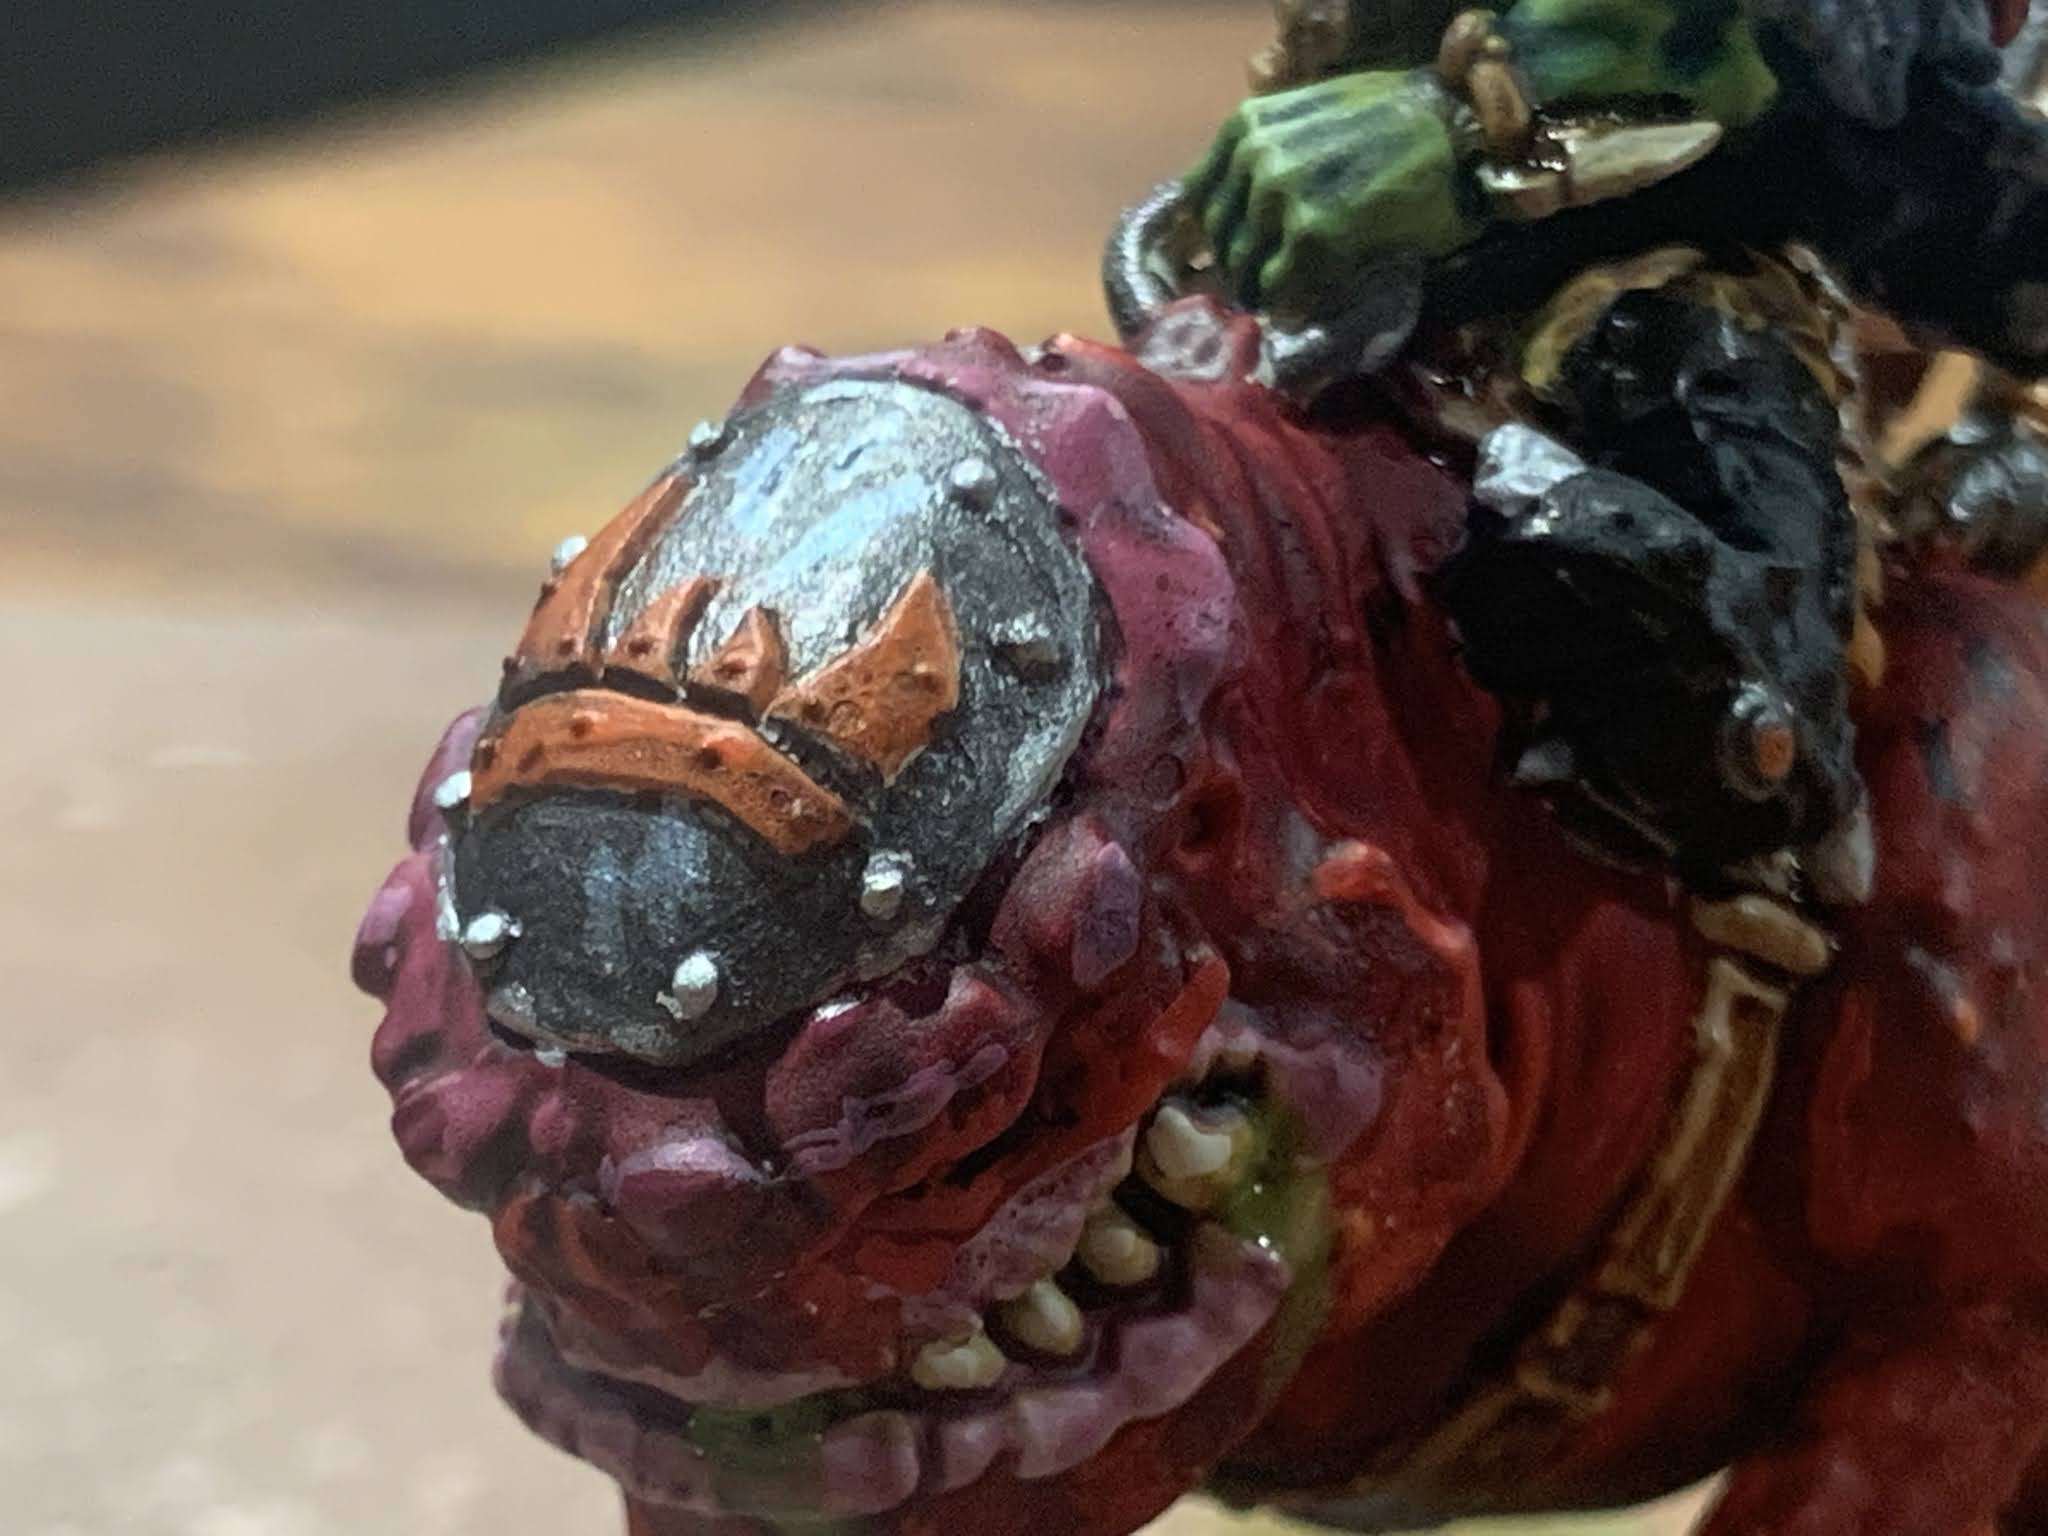
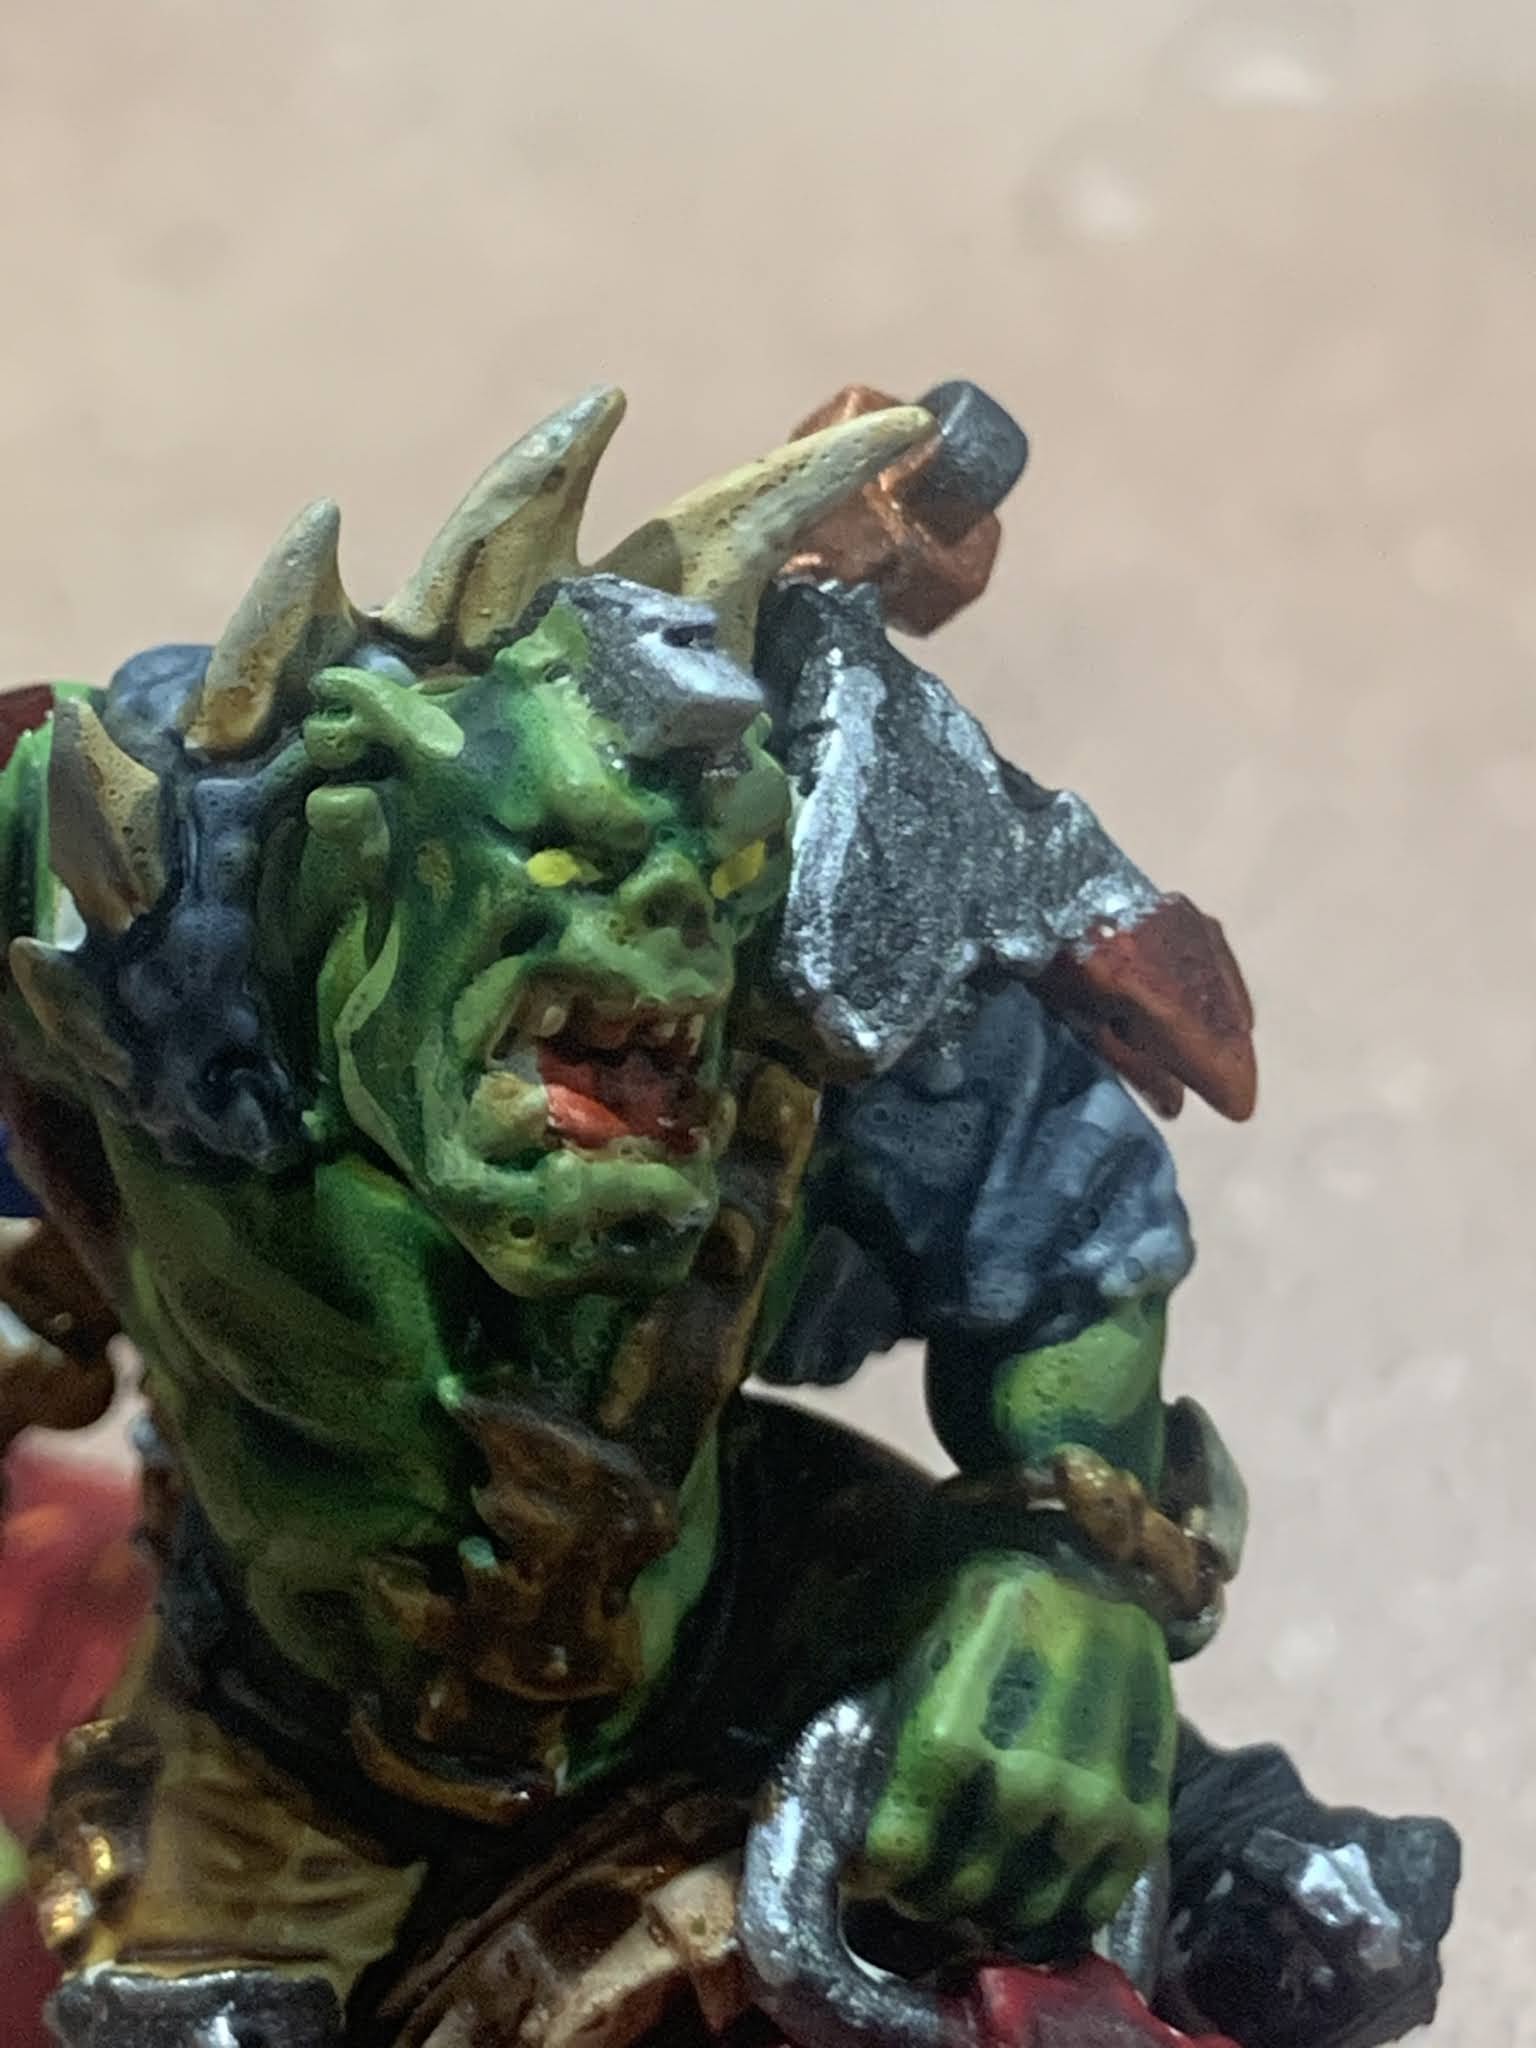
Beast Snagga (Feral) Orks- Squig Riders


So as you can see- I’ve started Beaat Snagga Orks. I have always loved the concept of the Feral Ork. Orks invade, spores are spread, years later Orks grow and ravage again. My ork army will be composed entirely of Snagga / Beast boyz. No planes, tanks, etc. It’s just going to be these primitive (but quickly adapting) Orks.

I painted these with a lot of contrast paints. The more I get used to them, I like them more. I used Plaguebearer Flesh contrast over Wraithbone spray undercoat for the Ork skin. Then, I carefully washed the ork skin with Biel Tan wash, covering the Plaguebearer flesh slightly unevenly, to create a slight variations of skin tone over the entire body. I made sure to put more wash in the recesses to really give it detail. Finally I did the new paint Orruk Flesh as a highlight.

The Squings were great to do. Over Wraithbone I painted Flesh Tearer Red all over the body, allowing it to pool in the recesses. Then, I used Evil Sunz Red to highlight the edges, folds, bumps, and musculature. 

For the Gretchen / Grots, I again applied Plaguebearer Flesh, followed by a careful wash of Camoshade. Totally different skin color from the Orks. Again I highlighted it Orruk green. 

Clothes, belts, boots, furs- also all done with contrasts. Smoke bite leather, Dunes, Black Templar- any color clothing you want. You can make them entirely uniform, or you could just do everything different- as long as the Ork Skin Color is there, the army is tied together. Same with metallics. I’ve used a bunch of them, with earth shade or nuln oil to make them look worn and beat up. And for me, Iron Warriors Metal is my new go to- dark gunmetal, allowing you to keep it dull or brighten it was much as you want with various silver highlights.

The bases are Rhinox Hide, Stirland Mud/Mire, and a drybrush of Tyrant Skull.

The skulls on the base were all Wraithbone too. Then I either used Skeleton Horde or Apothecary white  to finish them. Some skulls are brighter than others.

Used some different grasses from Army Painter (really easy to use), and some Nurgle Rot for swamp slime. 

They came out great. The green and red really pop on the table, but the ground bases make them earthy. Feral Orks indeed! Next up, I’ll be working on some Snagga Boyz and learning the new Kill Team. Hoping to get my friends interested. My brother, who hasn’t played 40K in years, might be tempted to try, as you don’t need that many models (unless you’re the imperial guard or something). Average 5-10 models depending on your faction. Sounds like a fast fun game. 


Until Next Time… 

Saturday, February 25, 2012

Battle Report: Chaos Space Marines vs. Grey Knights (Part 2)

Hey there Chaos fans! Last time, we looked at a Kill Team mission whose result would have a big impact on the big battle. It is my forces of Chaos against my brother's Grey Knights. I won the Kill Team battle. As a result, the Grey Knight commander would be the target of assassination in the big battle mission. We selected our forces, and my brother placed his men right in the open, on the overpass. I thought this was a reckless and brazen move. I prepared to slaughter this servant of the false Emperor!

The target of my assassination- the Grey Knights Grand Master
With the Assassination mission, I was only allowed to field some of my units immediately. The rest were to be held in reserve. I put out my Dreadnought and my Black Legion Terminators at the start of the overpass. They would soak up a ton of fire, but I wanted my Dread to get in there quick. I had my Plague Raptors on the lower level. They would swoop in when the time was right. Finally, I put my Plague Terminators at the far end in cover. My plan was to march them through, and then get into a nice shooting position. This turned out to be my biggest mistake, however, as they were too slow getting through the cover in order to make a difference.

 
My initial strike force
Moving toward the enemy
My Dreadnought was the first thing to go down, naturally. He had soaked up a lot of firepower though (curses to the Psy-cannon), and I believed that I could get in my Black Legion Terminators into combat pretty quickly. My Raptors buzzed about below. Of course, I stopped in difficult terrain, and wouldn't you know it- I failed one of my dangerous terrain tests! And my Terminators were moving too damn slowly in the ruins. Thus, the best shot appeared to be my Raptors, despite the loss of one of them.

Ah! My old nemesis- difficult terrain!
Moving too slowly through difficult terrain
My luck improved next turn. My Khorne Bezerkers and my Khornate Daemon Prince made their reserve rolls (though the remainder of my Plague force had not arrived yet). My Black Legion Terminators made it into combat, killing all but one of the Grey Knights. He stood his ground, unfortunately.  This would give the enemy the opportunity to advance his second Terminator squad into my Black Legion. This would be their end, BUT... I hoped his Grand Master would be left exposed to my advancing Raptors. They had already shot at him from below the overpass and wounded him.
The Black Legion strikes!

"Advance... For the Emperor of Mankind!"
 My plan sort of worked. The Grey Knight Terminators moved toward the advancing Black Legion Terminators (and behind them, my Khorne Bezerkers and Khornate Daemon Prince). His Grand Master was by himself, with Grey Knight Marines just a bit away. Now, my Plague Marine Terminators were still too far away, so I decided to send in my Raptors quickly to try to finish the Grand Master off. Unfortunately, combat did not go my way on either front. The Black Legion Terminators were wiped out by the second Terminator squad, and the Raptors were unable to wound (my brother rolls very very very well- as he always has). I knew right there that he'd move in his Marines to kill off the Raptors. My Plague Marines had yet to appear (damn lousy reserve rolls). Of course, in his turn, he moved in the Marines and wiped off the Raptors.  He braced his Terminators and had them shoot at the advancing Khorne Bezerkers. His Dreadnought and Nemesis Dreadnight had previously appeared, and they also fired on my Blood God warriors.

My Plague Raptors won't be able to withstand the assault

The Khorne Bezerkers are shot at from all directions
My Plague Marines and my second HQ finally arrived- though too little too late to really turn the tide of battle at this point. I had one last card to play. My Khornate Daemon Prince had advanced under the overpass, and he could assault the Grey Knight Marines... the Grand Master was just too far away. If the forces of Khorne could tie him down long enough- my Plague Terminators were just about in position to open a hail of fire on the Grand Master. So- I went for it. My Daemon Prince assaulted the Marines. Unfortunately, though I killed a couple, they stood their ground.

Detained in another part of the city, the Plague Marines arrive too late to aid the forces of Chaos!


The Grey Knights face the Daemon Prince of Khorne!
In the Grey Knight's turn, my brother backed up his Terminators, continuing to gun them down as they ran up the overpass, meanwhile his Nemesis Dreadknight did the same. Remarkably, he didn't do that well, but he killed just enough to weaken the squad. However, the real fight was the Daemon Prince. Again, I killed too few, meanwhile, his Nemesis force weapons cut through the "stuff of the warp" and my Daemon Prince was banished back to the warp. The last chance I had vanished.

 The mission called for Random Game Length, and I let my brother roll. The game ended right there. He had won, as his Grand Master was left standing. I had given it my all- and I couldn't quite get to him.

The Grand Master survived the assassination attempt
Wow! This was a great game all around. Playing the Kill Team mission at the beginning was a great way to introduce the bigger game. It was tense, action packed, and added narrative punch to the main battle. It was also great to play a mission that didn't have "D3 objectives" or the like. It made the game feel fresh and interesting. My brother played a hell of a game. I thought it was reckless to put his men on the overpass, but what he did was bottleneck my foot troops- they had to climb the ramp to the overpass- and then they'd face massed Grey Knights.It was a good approach tactically, while also in keeping with Marine fluff- they fear nothing.

For my own part, I put the Plague Terminators too far away to matter in the game. My reserve rolls weren't great, either. When I later told my friends that I brought in a Daemon Prince, they said I was crazy, as Daemons get their asses handed to them by Grey Knights. I knew that too- but I figured what would be a battle between the Forces of the Emperor and the Slaves to Darkness without at least one Daemon? Perhaps it was a mistake, but the last, desperate battle between the Daemon Prince and the noble Grey Knights felt "legendary", and I had a blast with this game anyways- win or lose. Besides, I'll begin planning for my revenge... <insert evil Chaos fanatic laughter here>

Anyways, that's all for this Battle Report. Have a good one!

Friday, February 24, 2012

Battle Report: Chaos Space Marines vs. Grey Knights (Part 1)

Hey everybody! How's it going for you this week? Getting into any trouble? Well, we here at Chaos Corner certainly hope you ARE getting into trouble... just not TOO much trouble! Hehehe! Anyways, I'm here to give you guys a look at my most recent battle against the Grey Knights. However, I decided to use my Chaos Marines rather than my Dark Eldar. Truly, I haven't played with Chaos for nearly a year; I love the Dark Eldar, but I just wanted a break and go back to my Chaotic roots. My opponent and I also decided to try something different in our game. So without further ado, lets delve into this latest battle report...


My Plague Marines are in position... do the Grey Knights suspect?
So, my bother and I decided to have a match up this week. He's been enjoying his Grey Knights, and he decided to use them again. I decided to go with a Chaos force- not all Plague Marines, though. I have a lot of Chaos stuff, so I decided to go that route, though the forces of Nurgle would be a mainstay in whatever force I made.

However, something has been bugging me about 40K lately. The main book missions are all pretty much the same. Its always "capture these objectives". I really wanted to do something completely different. A different type of game altogether. So, I did a bit of research in all the rulebooks. I was reading Cityfight, and I came across a mission called "Assassination". Now, that was something different! A fun match-up with a different objective AND a different force organization chart. This would spice it up quite a bit!

 But then I wondered- who would be the attacker, and who would be the defender/the target of assassination? I continued to flip through my books and I found in Battle Missions rules for Kill Team. I said "Hey- this will work"! We would start our battle with a Kill Team scenario- whoever got below half strength and lost a Leadership Test first would lose. The loser would then be the target of assassination! It sounded like fun to me- so my brother and I decided to go for it...


The Grey Knights advance under withering fire... but the Emperor Protects!

We set up a Cityfight table- complete with GW ruins, factory pieces, and a bunch of the old Armorcast brick building ruins. I also decided to use an overpass set that I had custom built for me. With the terrain set up, we decided we'd have the Kill Team match on only one part of the table. Once we selected the one end, we made up our lists- which was set at 200 points. I picked a squad of (you guessed it) 5 Plague Marines, one with a Meltagun. For the remainder, I picked 3 Khorne Bezerkers (with one Plasma pistol). I thought it was a good set up at 203 points. Then my brother told me what he would be fielding- 5 Grey Knight Terminators. It just got interesting....


My Plague Marine is shot and killed by Storm Bolters
 In a terrible battle of the capital, a squad of Chaos Marines were doing a sweep- their mission was to locate the Grey Knights commander. As they made their sweep, they encountered 5 Terminators. If the Chaos Marines were to succeed, they would have to kill the Terminiators. If they failed, the Terminators might be able to trace them back- thus setting up the Chaos Lord for assassination. Pretty dramatic, huh?

The Kill Team mission was a lot of fun. With each man acting on his own, it made for some thrilling shoot outs and dramatic close combat moments. I moved some of  my Plague Marines onto the actory ruins, so they could be shooting at the approaching Grey Knights. Meanwhile, I sent two Khorne Bezerkers forward, and I sent 2 other Plague Marines with the third Khorne Bezerker around the side in an attempt to flank.

Desperate one on one combat

It was great- we traded shots as his Grey Knights advanced. However, their terminator armor was generally proof against my shooting. I had downed one, but he killed 2 Plague Marines and a Khorne Bezerker in his shooting. Finally, my flanking moved into cover, just as his Grey Knights got there. The one Khorne Bezerker charged in, but was sliced in half by the Terminator. My Plague Marine got to the upper level and fired- but still did not kill the Grey Knight.

Blood for the blood god!!

On the other side, the Plague Marines kept firing, but it was the lone Khorne Bezerker that fired his Plasma pistol, killing one Terminator. In the next volley, my Plague Marines and Khorne Bezerker survived the shots, and they shot back. Again, the Bezerker's Plasma pistol felled another Grey Knight, as did a Plague Marine's bolter. With a failed leadership roll, my brother was forced to concede. Chaos was victorious, and we "set up the field", ready to ambush and assassinate the Grey Knight commander.

So, we decided to make a list at 1600 points. Now, the force organization chart for Assassination is called "Hit and Fade". For the attacker, I can only use (at maximum) 2 HQs, 6 Elites, 2 Troops, and 3 Fast Attack. Not quite the list I was used to making, which is why I wanted to play this mission. So, what did I pick? A Khornate Daemon Prince and a Plague Terminator Lord (as HQs). I had  full squads of Plague Marines and Khorne Bezerkers. I also had a Plague Dreadnought as my only heavy firepower. For my other Elite choices, I ahd two Terminator squads- one set of Plague Terminators, and the other a set of Black Legion terminators. Finally, I had a squad of Raptors with the Mark of Nurgle. Ultimately, I was at 1593.

His attitude was "Come and get me!"
What I was not prepared for, was my brother's strategy. Rather than place his commander in a building or near cover, he placed him in the near-center of the Overpass. Yep- balls out right there, out in the open. He then surrounded him with 2 squads of Grey Knight terminators and another full squad of Grey Knight marines. That would be a lot to cut through. Would my brother's plan be brave and bold, or just foolhardy? Find out in our next posting!